Saturday, January 22, 2011

Yummy Teacup Card


I love this teacup cut from "Yummy"!  I just received my "Sweet Somethings" stamp set from Scrappy Mom Stamps and was looking through the sentiments for inspiration and knew exactly what image I was going to use for this sentiment.  The card recipe is as follows:
5 1/2 " card base in SU Mauve Mist cardstock
5 1/4" square - SU Bliss Blue cardstock
5" flooded square with floral pattern from "Yummy"
Teacup (cut 2 times) cut in layers at 3.7"
Oval shape was a layer from the cake on "Yummy" cut at 3 1/2" using Bliss Blue cardstock, then run through my cuttlebug using the Swiss Dots folder
Scrappy Mom Stamps - "Sweet Somethings"
SU decorative scissors to cut decorative border around sentiment and shadowed layer
Pearl accents

Friday, January 21, 2011

Yummy Card #2


Good evening!  After tackling Kate's Kitchen, I decided my next series of cards would be from the "Yummy" Imagine cartridge.  This cart has the most delicious-looking cakes and desserts - almost makes me wish I liked to eat that sort of thing.  I have to admit, I have never had a sweet-tooth.  My guilty pleasure has always been bagels and not the sweet kind either - pretty boring, isn't it?  Now on to the card................
I found a way to save a bit of paper while layering.  I like lots of layers of patterned paper but hate to waste the ink on a large piece when all you see of it is the sides.  I have been using 3" x 5 1/2" rectangles from WW and then cutting them in half and placing one on either side of the main patterned piece - glued from the back. I then mount the whole thing on to my cardstock of choice and it looks no different than if I had cut out two larger rectangles and layered them onto one another.  The card recipe is as follows:
4' x 5 1/2" card base
4" x 5 1/2" rectangle flooded with yummy pattern
3 x 5 1/2" rectangle from WW flooded with yummy pattern, then cut in half to form two 1 1/2 " x 5 1/2" strips
1 1/2" x 4 1/4" rectangle flooded with yummy pattern then placed horizontally on card
Two cakes were cut in layers at 3 1/2" and then pop-dotted for extra dimension
Glossy accents for cherry and red frosting strip
Martha Stewart white glitter for top of cake
Pearl accents
Gross-grain ribbon from SU - can't remember specific color
Scrappy Mom Stamps "Sweet Somethings" - sentiment

Thursday, January 20, 2011

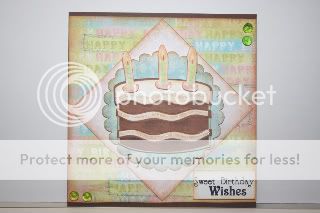
Yummy Birthday Card


This is my first card made with the "Yummy" Imagine cartridge.  All papers were cut from the Yummy pattern papers and the stamps were Scrappy Mom's "Sweet Somethings" set. 

The card recipe:
5 3/4"  brown card base - I bought this at HL and have no idea what the "color name" is :)
5 1/4 " square card base flooded with happy birthday patterned paper
3 1/2 " square flooded with the light pink patterned paper from "yummy"
3 1/2 " scallop (Imagine stock image) flooded with blue patterned paper

3 1/2" I cut the birthday cake using layers and then stickled around all the icing.
Light green "skittles"
Sweet Somethings stamp set - I stamped the sentiment on white cardstock, trimmed it to size and inked it using Tim Holtz's distress ink
Pop dots - everything was again pop-dotted but very hard to pick up with my camera

Wednesday, January 19, 2011

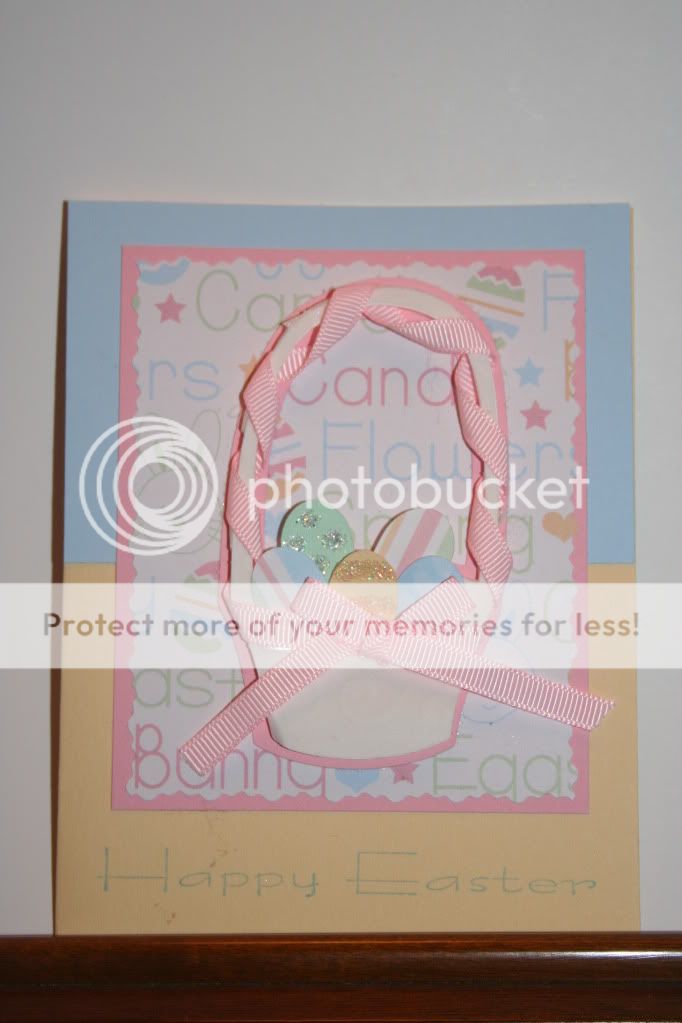
Stretch Your Imagination Easter Card

I actually made this card a while ago but never posted it on my blog.  I used Stretch Your Imagination for the basket and George for the oval shape to make the eggs.  The basket was very time-consuming and impossible to see but I actually cut the basket out of white cardstock and then cut it out a second time using swirly vellum - it is really much prettier in person.  Then I wove the ribbon around the handle to give it more eye-appeal and pop-dotted the basket on top of another basket which I cut out in pink cardstock.  The eggs are all pop-dotted using various thicknesses but again, it is hard to get the entire effect with just a camera. 

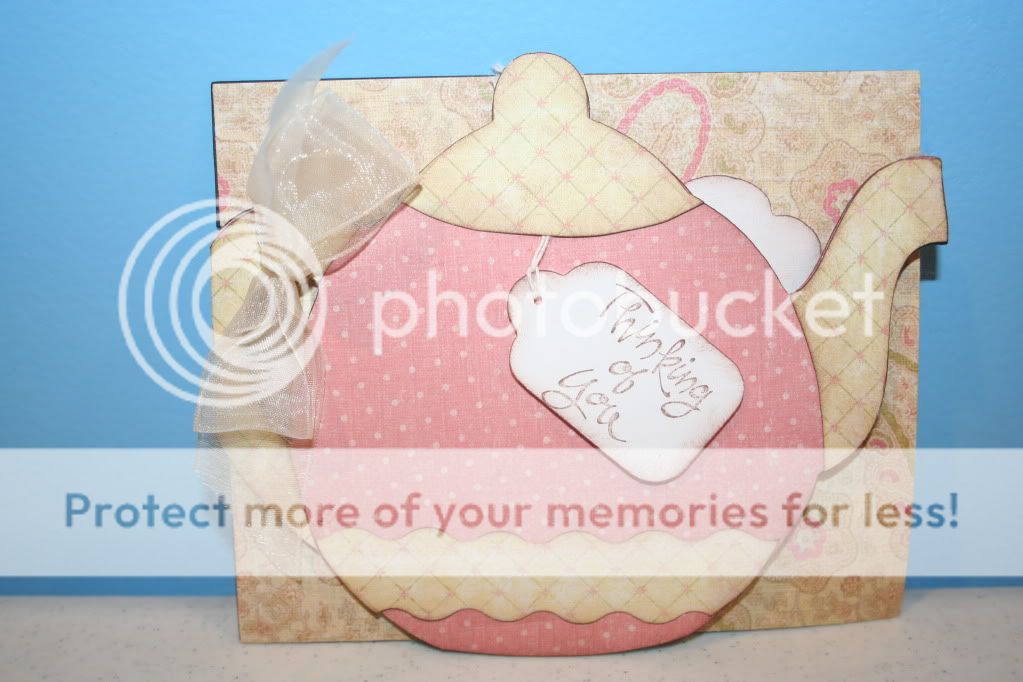
A Child's Year Teapot Card

I was in need of a simple "thinking of you" card.  I used the rectangle from George and welded the teapot from ACY and then hand cut some of the layers you see to create the teapot.  The stamp was from Stampin' Up.

Sunday, January 16, 2011

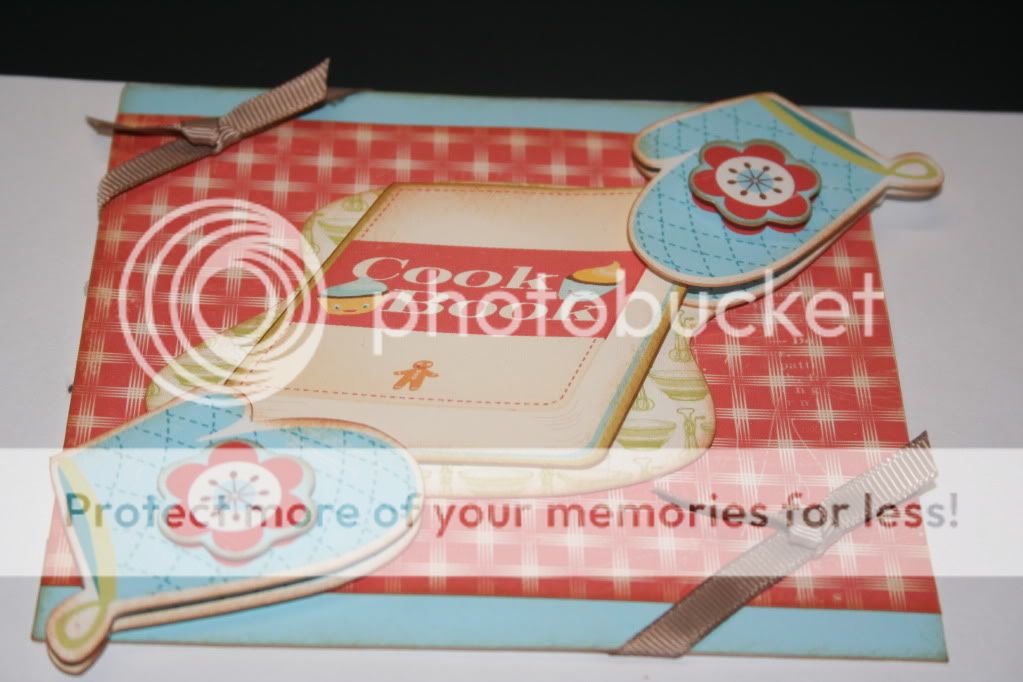
Kate's Kitchen #4

Here is my fourth card from Kate's Kitchen........time to take a break and pick another cart already!!  The background paper and all images were cut from this cart as well as the two smaller strips of matching "blue cardstock."  Again, I just love this feature of having the perfect match at your fingertips at all times.  I first went through my stash of SU cardstock but all the blues were just slightly off so I resorted to printing two strips of my own.  I inked around the edges with Tim Holtz's distress ink in "tea dye" -  a necessity for me - and then pop-dotted all the images.  Again, it is so hard to tell from these pics but every layer was pop-dotted and in person, the card is really much more dimensional then it appears here.

Snow Angel

I love this cartridge!! The images and papers are just so cute!  The only problem is....with the limited time I actually have to create anything, by the time I am able to come up with a few cards I approve of, it will be spring and this cart will no longer be of any use to me.  Snow Angel was used for all papers and shapes except the rectangular scalloped shape which came from Winter Woodland and was flood-filled with a Snow Angel pattern.