This morning marked the big day. Last night, I had everything laid out that my children could possibly need for this morning to eliminate any last-minute stressers. Their outfits were neatly laid out, the baby's diaper bag was packed, the coats were ready, the table was set, all my accompaniments were in my music folder, etc......and then my son spiked a fever of 103 during the middle of the night. I don't know what it is about being a parent but anytime anything important comes up that you "just can't miss", that's when someone becomes ill. I have almost come to expect it at holidays. While most people are filled with thoughts of what dish to bring or whose home they will be traveling to, I am trying to imagine which child will be sick and with what. After phoning my mom with the news, my parents graciously offered to come to my home this morning to watch the children instead of having me transport them over there.
I had forgotten just how noisy these competition days were. It was very chaotic - people scrambling to find the correct room, music flying out of someone else's hands, someone frantically running to track down the missing ensemble member for their instrumental group because they were due to perform within the next few minutes.......it makes me thankful, once again, to be done with highschool. All in all, the day went well and I was able to make it back to my sick little boy by 3:30 p.m. He is still not feeling well, but at least he has his Mommy home at last!
Saturday, January 29, 2011
Friday, January 28, 2011
What a week!
Good morning, bloggers!! What a crazy week this has been! I had hoped to have a few new cards posted by today but I have found myself having absolutely 0 minutes of free time since last weekend. One of my piano students phoned me last Friday night in a panic. Every year, the state instrumental competitions are the last weekend of January. Most of my students take a second instrument as they are encouraged to be in band class at their schools. Up until my baby was born 1 1/2 years ago, I had my name on the list of available accompanists in the area but when our little girl was born, I removed my name because I wanted to take a break for a couple years. Now, you would think that since this is an annual competition, the highschoolers would be well aware that they need to hire an accompanist early on for their solo but such is not the case. No - they prefer to wait until the last possible second. Lol Long story short - my student called me as she and several friends did not have an accompanist and they had 7 days until their competition. She dropped off the music on Saturday - except for one girl who couldn't find two pages of her accompaniment part. :( I have since been working on scheduling practices and hurriedly learning several pieces of music for this Saturday. I have to admit, I am not looking forward to sitting all day at a highschool filled with hundreds of people even though it pays well. I did, however, purchase two new carts as I felt I had earned at least that much and I hope to share some new cards this next week. Have a great day!!
Saturday, January 22, 2011
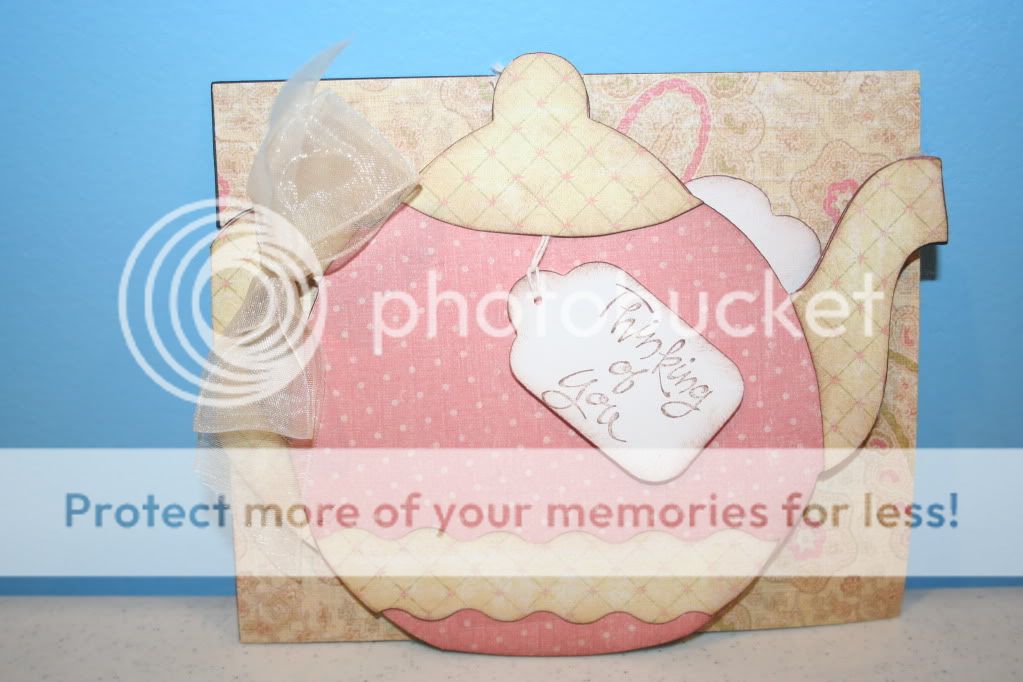
Yummy Teacup Card


5 1/2 " card base in SU Mauve Mist cardstock
5 1/4" square - SU Bliss Blue cardstock
5" flooded square with floral pattern from "Yummy"
Teacup (cut 2 times) cut in layers at 3.7"
Oval shape was a layer from the cake on "Yummy" cut at 3 1/2" using Bliss Blue cardstock, then run through my cuttlebug using the Swiss Dots folder
Scrappy Mom Stamps - "Sweet Somethings"
SU decorative scissors to cut decorative border around sentiment and shadowed layer
Pearl accents
Friday, January 21, 2011
Yummy Card #2


I found a way to save a bit of paper while layering. I like lots of layers of patterned paper but hate to waste the ink on a large piece when all you see of it is the sides. I have been using 3" x 5 1/2" rectangles from WW and then cutting them in half and placing one on either side of the main patterned piece - glued from the back. I then mount the whole thing on to my cardstock of choice and it looks no different than if I had cut out two larger rectangles and layered them onto one another. The card recipe is as follows:
4' x 5 1/2" card base
4" x 5 1/2" rectangle flooded with yummy pattern
3 x 5 1/2" rectangle from WW flooded with yummy pattern, then cut in half to form two 1 1/2 " x 5 1/2" strips
1 1/2" x 4 1/4" rectangle flooded with yummy pattern then placed horizontally on card
Two cakes were cut in layers at 3 1/2" and then pop-dotted for extra dimension
Glossy accents for cherry and red frosting strip
Martha Stewart white glitter for top of cake
Pearl accents
Gross-grain ribbon from SU - can't remember specific color
Scrappy Mom Stamps "Sweet Somethings" - sentiment
Thursday, January 20, 2011
Yummy Birthday Card
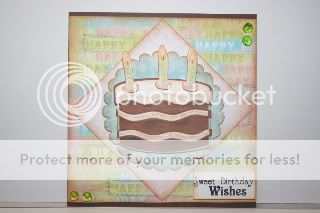

The card recipe:
5 3/4" brown card base - I bought this at HL and have no idea what the "color name" is :)
5 1/4 " square card base flooded with happy birthday patterned paper
3 1/2 " square flooded with the light pink patterned paper from "yummy"
3 1/2 " scallop (Imagine stock image) flooded with blue patterned paper
3 1/2" I cut the birthday cake using layers and then stickled around all the icing.
Light green "skittles"
Sweet Somethings stamp set - I stamped the sentiment on white cardstock, trimmed it to size and inked it using Tim Holtz's distress ink
Pop dots - everything was again pop-dotted but very hard to pick up with my camera
Wednesday, January 19, 2011
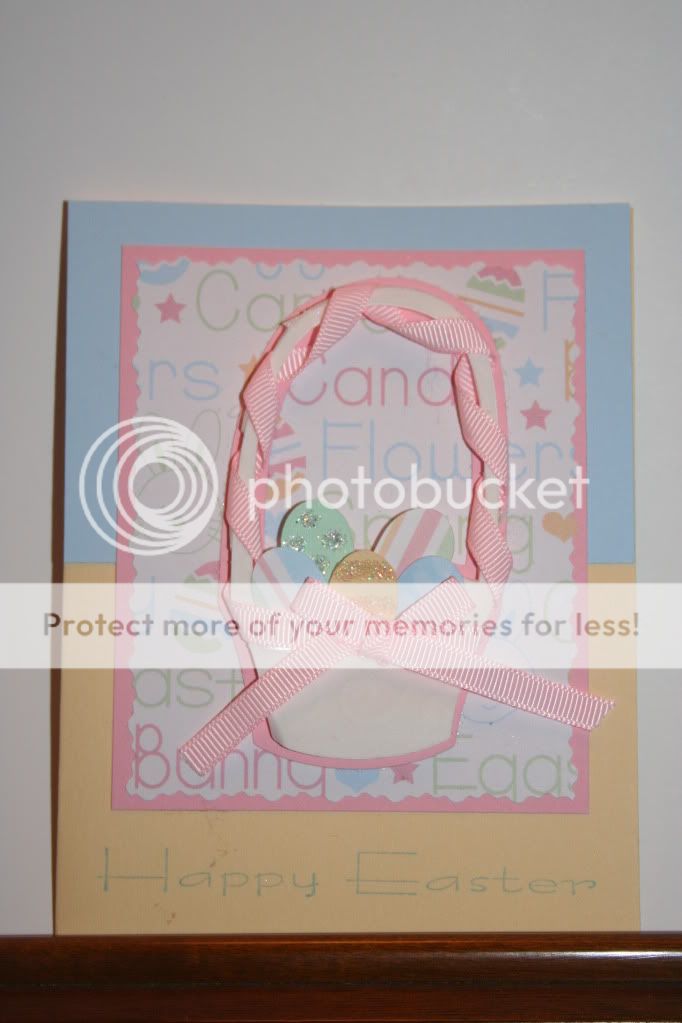
Stretch Your Imagination Easter Card
A Child's Year Teapot Card
Sunday, January 16, 2011
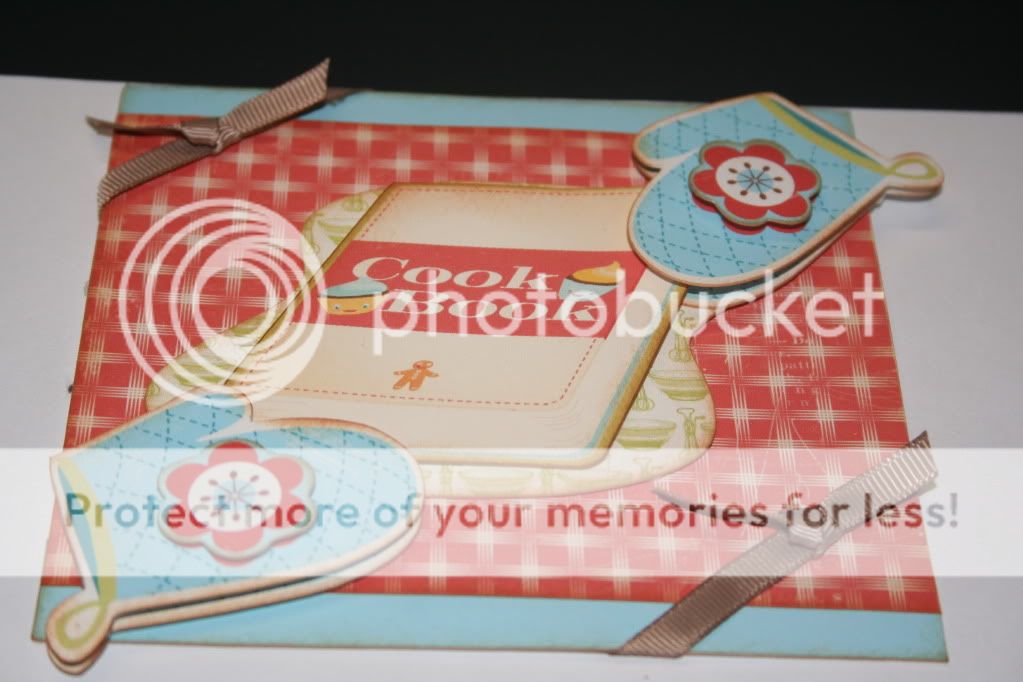
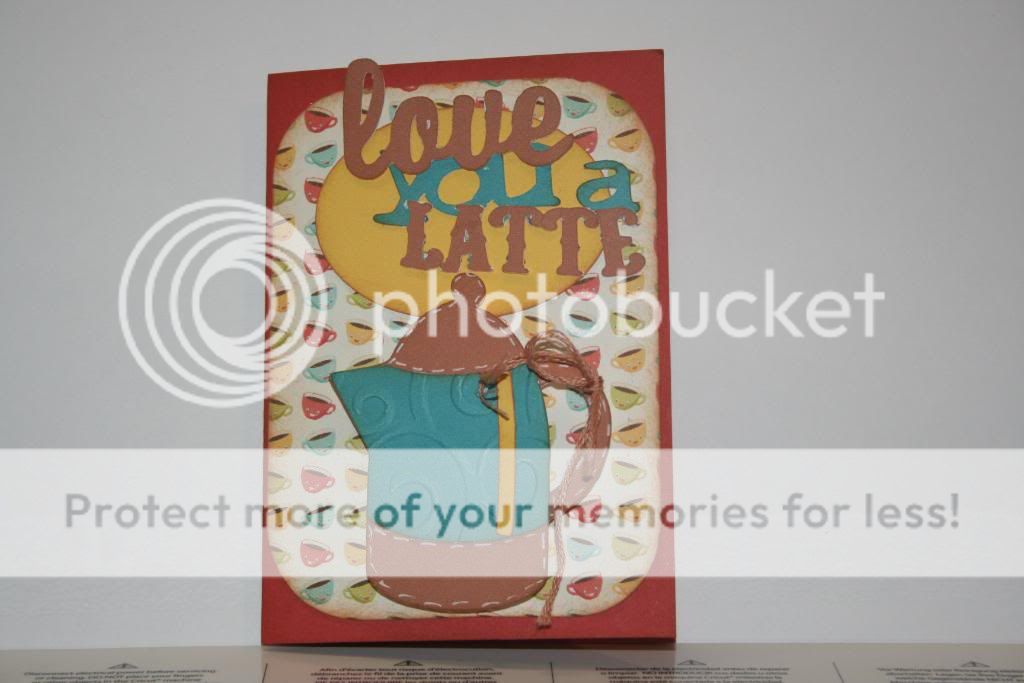
Kate's Kitchen #4
Snow Angel

Just Because Cards and Kate's Kitchen
Kate's Kitchen #3

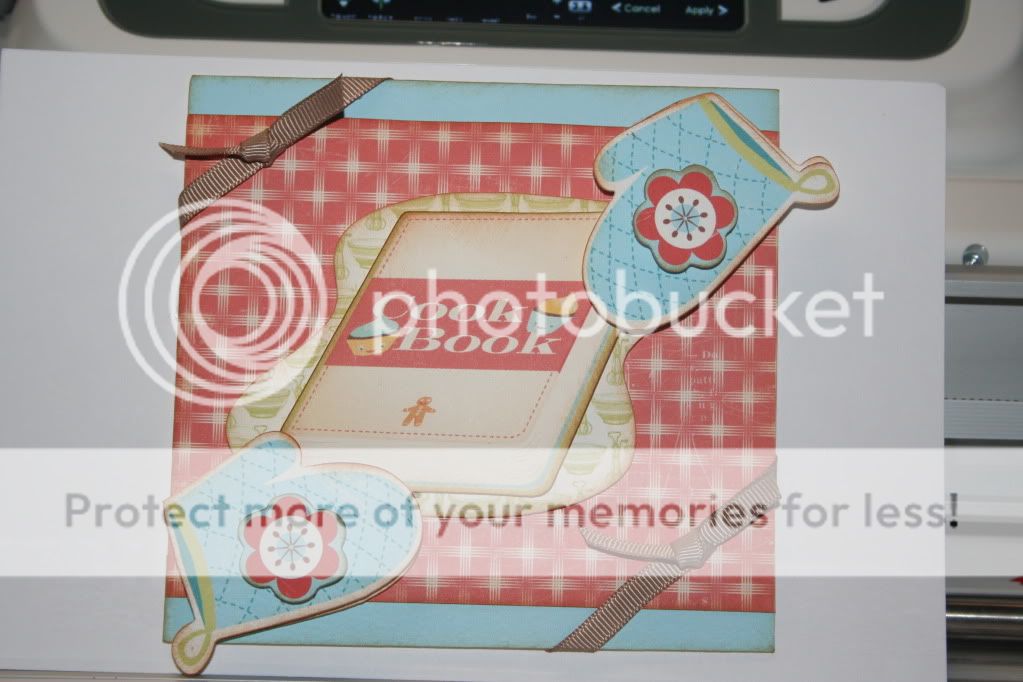
Kate's Kitchen #2

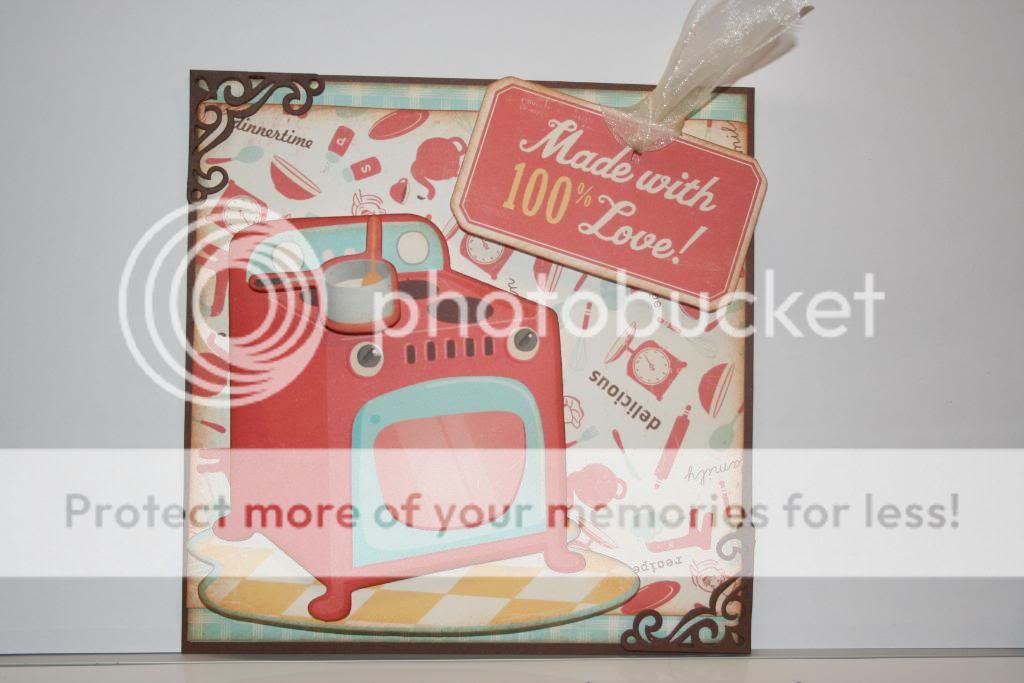
I was a little worried when I first opened up this cart and saw all the smiling coffee pots and other kitchen gadgets with faces. I thought the patterned paper was really cute but didn't know if I would like the images. Last night I sat down and printed out three 12 x 12 pages of various images and paper samples and decided to just see if I could come up with something. I had a lot of fun and I have to admit.....I actually really like this cart now!
Kate's Kitchen
Subscribe to:
Posts (Atom)