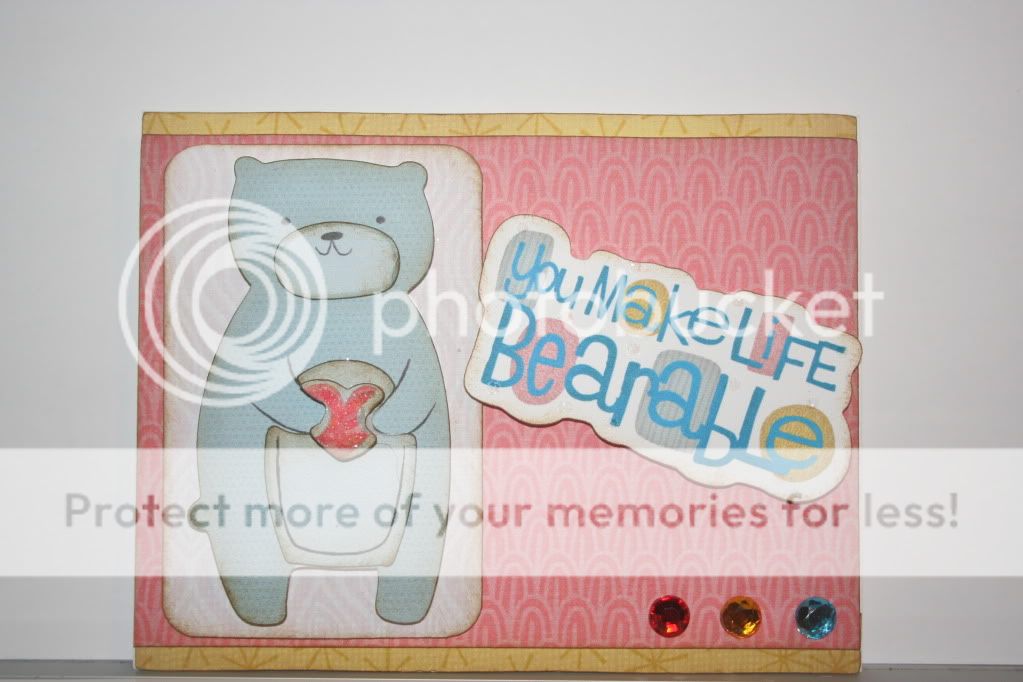
Ok - so here's the honest truth. I have made a few cards this past week but have not posted them because I didn't feel they were "blog-worthy." I have younger children and I just don't want to put a bunch of embellishments on their cards or spend hours creating when there is that very real potential that they will be fed to the dog or given to their 1 year old sister to practice her paper-tearing techniques. I know it is horrible - I should want to spend just as much time and attention on cards for my own children as I do on cards for people I don't know as well but if you lived here and saw what happens to most of the things my children are given, I think you would probably take my side on this one. Here are the cards:
Having four kids is tough and having the time to do anything is even tougher. I love making cards but I find myself having to take the slow route and just make them one cappuccino at a time.
Thursday, February 24, 2011
Wednesday, February 2, 2011
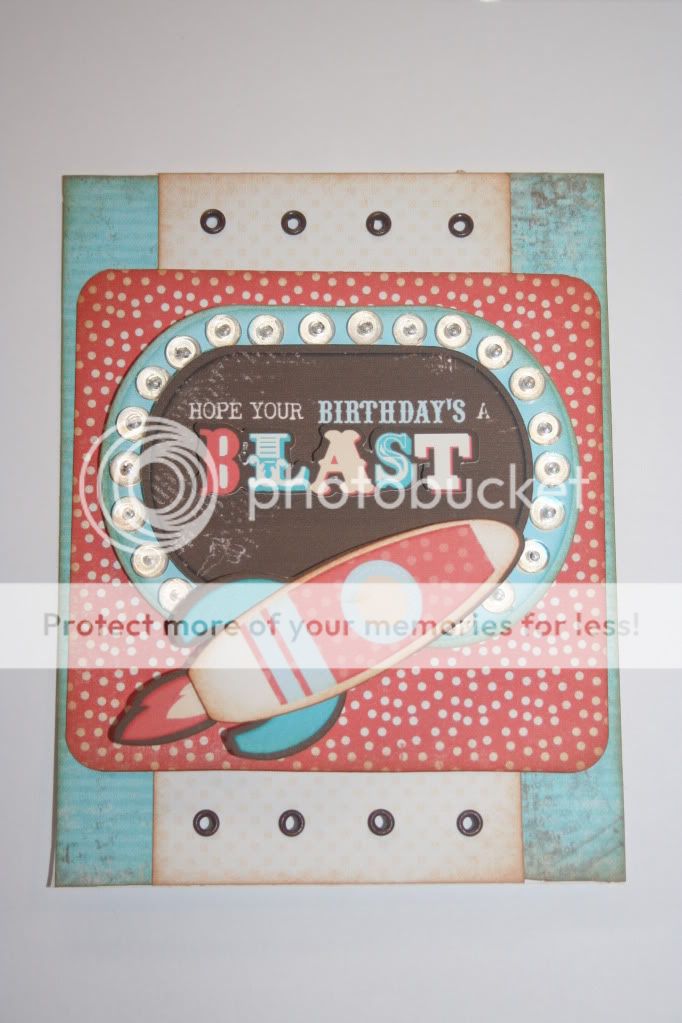
Imagine More Cards "Rocket Birthday"
It is my father-in-laws birthday tomorrow and I do not consider myself the best at making "guy" cards. I love glitter, ribbon, and all those other embellishments that lend themselves toward the girly cards. I had been playing with this cart all day so I decided to try my hand at the cute rocket ship and see what I could come up with. I was really pleased with how it turned out but I have to say......I don't think I ever want to spend that much time placing "skittles" on a card again - Lol! The "recipe" is as follows:
4 1/4" x 5 1/2" card base in white
2 - 3/4" x 5 1/2" rectangles flooded with the blue striped pattern - obviously, the simpler method would be to flood an A2 size rectangle instead of cutting two strips but I like to conserve my paper.
2 3/4" x 5 1/2" rectangle flooded with yellow polka-dot pattern
3 7/8" x 4 1/8" rectangle flooded with red polka-dot pattern (I rounded the corners with a punch)
Rocket ship was cut in layers at 3" and pop-dotted
Dark brown eyelets set
Lots of "skittles" :) - I have found Zots small round dots to work perfectly for adhering these to my cards
All paper was inked with Tim Holtz's Distress Ink in "Tea Dye"
Imagine More Cards "Friend" Card
I am on a roll with this cart - lol! All images and papers were once again cut from the Imagine More Cards cart. The recipe is as follows:
4 1/2" x 5 1/2" card base in dark brown cardstock from Hobby Lobby (no specific color)
2 - 2 1/4" x 5 1/2" rectangles flooded with patterns from IMC and slightly overlapped
3 1/8" x 3 3/4" rectangle using SU Gable Green cardstock and cuttlebugged with "Swiss Dots"
"Friend" and all layers were cut at 3 1/2" and pop-dotted
Light Pink Ribbon
My Mind's Eye sparkly brads
All papers were inked with Tim Holtz's Distress Ink in "Tea Dye"
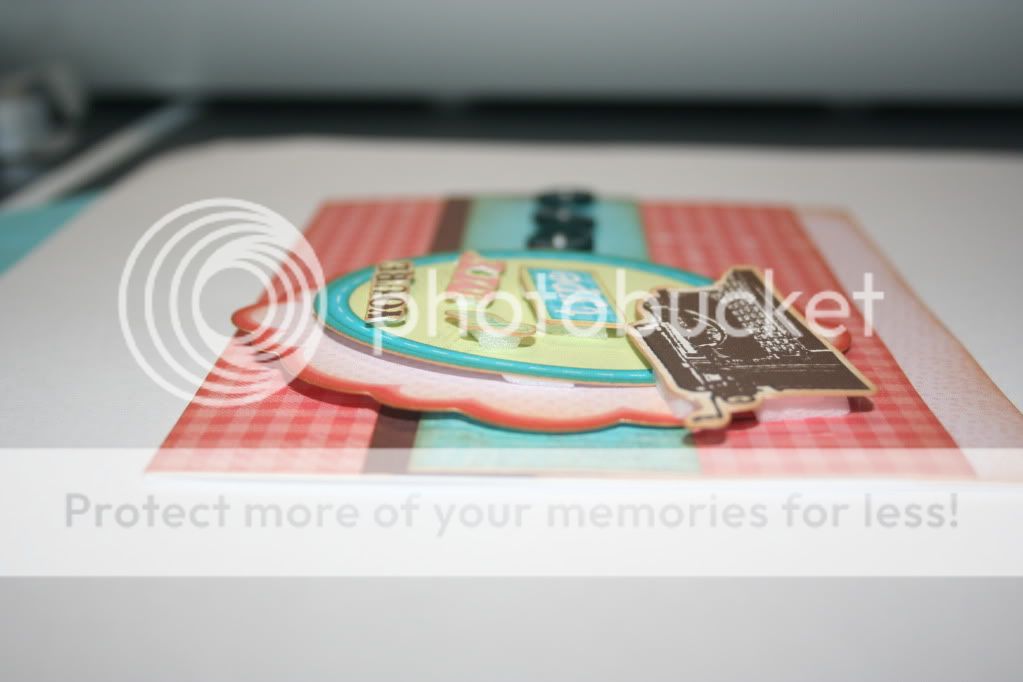
Imagine More Cards "You're Just My Type"
Here is my second card using the Imagine More Cards cart. I am still loving being able to print my own paper but I am really glad I was able to get in on the free ink promotion as I have been using my Imagine quite a bit! I would never trade this machine for my Expression, but I do love it. Here is the card "recipe":
4 1/4" x 5 1/2" white card base
1/2" x 5 1/2" rectangle flooded with pink polk-a-dot pattern for bottom strip
3 3/4" x 5 1/2" rectangle flooded with checkerboard pattern
1 3/8" x 5 1/2" rectangle flooded with blue stripe pattern
1/4" x 5 1/2" rectangle - brown paper (no specific color) from Hobby Lobby
Typewriter images cut in layers at 3 1/2" and pop-dotted
Blue buttons
All images inked with Tim Holtz's Distress ink in "Tea Dye"
Imagine More Cards Telephone Card
It has been such a great afternoon! With the blizzard here in northwest Indiana, we have all been snowed in and there couldn't have been a more perfect opportunity for making some cards! I just received the Imagine More Cards cartridge on Saturday and I am just loving the images on this cart. They are perfect for so many different occasions and so easy to put together. The card recipe for this card is as follows:
4 1/4 x 5 1/2" card base in dark brown (no specific color as I bought it from Hobby Lobby)
2 - 2 1/4" x 5 1/2" rectangles flooded with patterns from IMC cart and slightly overlapped
Telephone image cut in layers at 3 1/2"
Pink gross-grain ribbon from SU
Clear "skittles"
Pop dots
All images inked with Tim Holtz's Distress Ink in "Tea Dye"
Saturday, January 29, 2011
Home at Last!!
This morning marked the big day. Last night, I had everything laid out that my children could possibly need for this morning to eliminate any last-minute stressers. Their outfits were neatly laid out, the baby's diaper bag was packed, the coats were ready, the table was set, all my accompaniments were in my music folder, etc......and then my son spiked a fever of 103 during the middle of the night. I don't know what it is about being a parent but anytime anything important comes up that you "just can't miss", that's when someone becomes ill. I have almost come to expect it at holidays. While most people are filled with thoughts of what dish to bring or whose home they will be traveling to, I am trying to imagine which child will be sick and with what. After phoning my mom with the news, my parents graciously offered to come to my home this morning to watch the children instead of having me transport them over there.
I had forgotten just how noisy these competition days were. It was very chaotic - people scrambling to find the correct room, music flying out of someone else's hands, someone frantically running to track down the missing ensemble member for their instrumental group because they were due to perform within the next few minutes.......it makes me thankful, once again, to be done with highschool. All in all, the day went well and I was able to make it back to my sick little boy by 3:30 p.m. He is still not feeling well, but at least he has his Mommy home at last!
I had forgotten just how noisy these competition days were. It was very chaotic - people scrambling to find the correct room, music flying out of someone else's hands, someone frantically running to track down the missing ensemble member for their instrumental group because they were due to perform within the next few minutes.......it makes me thankful, once again, to be done with highschool. All in all, the day went well and I was able to make it back to my sick little boy by 3:30 p.m. He is still not feeling well, but at least he has his Mommy home at last!
Friday, January 28, 2011
What a week!
Good morning, bloggers!! What a crazy week this has been! I had hoped to have a few new cards posted by today but I have found myself having absolutely 0 minutes of free time since last weekend. One of my piano students phoned me last Friday night in a panic. Every year, the state instrumental competitions are the last weekend of January. Most of my students take a second instrument as they are encouraged to be in band class at their schools. Up until my baby was born 1 1/2 years ago, I had my name on the list of available accompanists in the area but when our little girl was born, I removed my name because I wanted to take a break for a couple years. Now, you would think that since this is an annual competition, the highschoolers would be well aware that they need to hire an accompanist early on for their solo but such is not the case. No - they prefer to wait until the last possible second. Lol Long story short - my student called me as she and several friends did not have an accompanist and they had 7 days until their competition. She dropped off the music on Saturday - except for one girl who couldn't find two pages of her accompaniment part. :( I have since been working on scheduling practices and hurriedly learning several pieces of music for this Saturday. I have to admit, I am not looking forward to sitting all day at a highschool filled with hundreds of people even though it pays well. I did, however, purchase two new carts as I felt I had earned at least that much and I hope to share some new cards this next week. Have a great day!!
Saturday, January 22, 2011
Yummy Teacup Card
I love this teacup cut from "Yummy"! I just received my "Sweet Somethings" stamp set from Scrappy Mom Stamps and was looking through the sentiments for inspiration and knew exactly what image I was going to use for this sentiment. The card recipe is as follows:
5 1/2 " card base in SU Mauve Mist cardstock
5 1/4" square - SU Bliss Blue cardstock
5" flooded square with floral pattern from "Yummy"
Teacup (cut 2 times) cut in layers at 3.7"
Oval shape was a layer from the cake on "Yummy" cut at 3 1/2" using Bliss Blue cardstock, then run through my cuttlebug using the Swiss Dots folder
Scrappy Mom Stamps - "Sweet Somethings"
SU decorative scissors to cut decorative border around sentiment and shadowed layer
Pearl accents
Friday, January 21, 2011
Yummy Card #2
Good evening! After tackling Kate's Kitchen, I decided my next series of cards would be from the "Yummy" Imagine cartridge. This cart has the most delicious-looking cakes and desserts - almost makes me wish I liked to eat that sort of thing. I have to admit, I have never had a sweet-tooth. My guilty pleasure has always been bagels and not the sweet kind either - pretty boring, isn't it? Now on to the card................
I found a way to save a bit of paper while layering. I like lots of layers of patterned paper but hate to waste the ink on a large piece when all you see of it is the sides. I have been using 3" x 5 1/2" rectangles from WW and then cutting them in half and placing one on either side of the main patterned piece - glued from the back. I then mount the whole thing on to my cardstock of choice and it looks no different than if I had cut out two larger rectangles and layered them onto one another. The card recipe is as follows:
4' x 5 1/2" card base
4" x 5 1/2" rectangle flooded with yummy pattern
3 x 5 1/2" rectangle from WW flooded with yummy pattern, then cut in half to form two 1 1/2 " x 5 1/2" strips
1 1/2" x 4 1/4" rectangle flooded with yummy pattern then placed horizontally on card
Two cakes were cut in layers at 3 1/2" and then pop-dotted for extra dimension
Glossy accents for cherry and red frosting strip
Martha Stewart white glitter for top of cake
Pearl accents
Gross-grain ribbon from SU - can't remember specific color
Scrappy Mom Stamps "Sweet Somethings" - sentiment
Thursday, January 20, 2011
Yummy Birthday Card
This is my first card made with the "Yummy" Imagine cartridge. All papers were cut from the Yummy pattern papers and the stamps were Scrappy Mom's "Sweet Somethings" set.
The card recipe:
5 3/4" brown card base - I bought this at HL and have no idea what the "color name" is :)
5 1/4 " square card base flooded with happy birthday patterned paper
3 1/2 " square flooded with the light pink patterned paper from "yummy"
3 1/2 " scallop (Imagine stock image) flooded with blue patterned paper
3 1/2" I cut the birthday cake using layers and then stickled around all the icing.
Light green "skittles"
Sweet Somethings stamp set - I stamped the sentiment on white cardstock, trimmed it to size and inked it using Tim Holtz's distress ink
Pop dots - everything was again pop-dotted but very hard to pick up with my camera
Wednesday, January 19, 2011
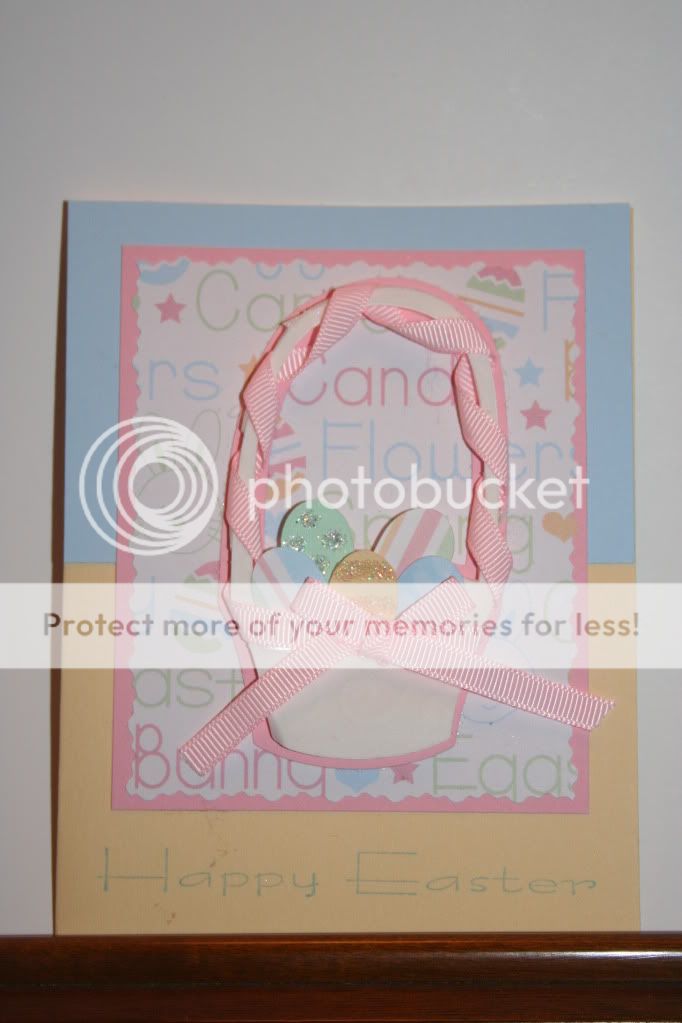
Stretch Your Imagination Easter Card
I actually made this card a while ago but never posted it on my blog. I used Stretch Your Imagination for the basket and George for the oval shape to make the eggs. The basket was very time-consuming and impossible to see but I actually cut the basket out of white cardstock and then cut it out a second time using swirly vellum - it is really much prettier in person. Then I wove the ribbon around the handle to give it more eye-appeal and pop-dotted the basket on top of another basket which I cut out in pink cardstock. The eggs are all pop-dotted using various thicknesses but again, it is hard to get the entire effect with just a camera.
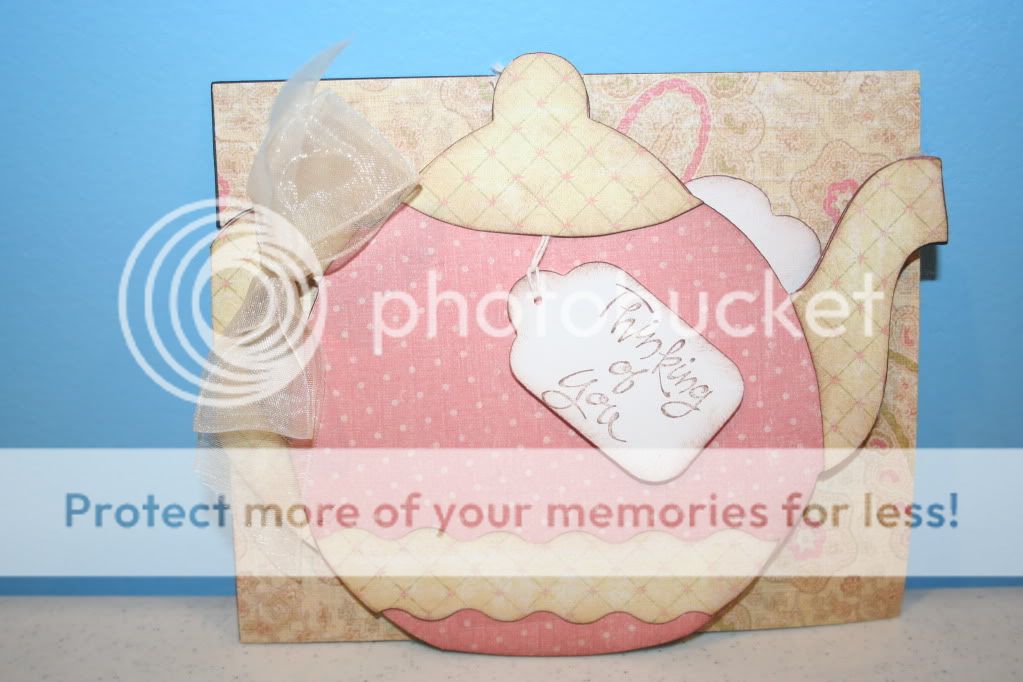
A Child's Year Teapot Card
I was in need of a simple "thinking of you" card. I used the rectangle from George and welded the teapot from ACY and then hand cut some of the layers you see to create the teapot. The stamp was from Stampin' Up.
Sunday, January 16, 2011
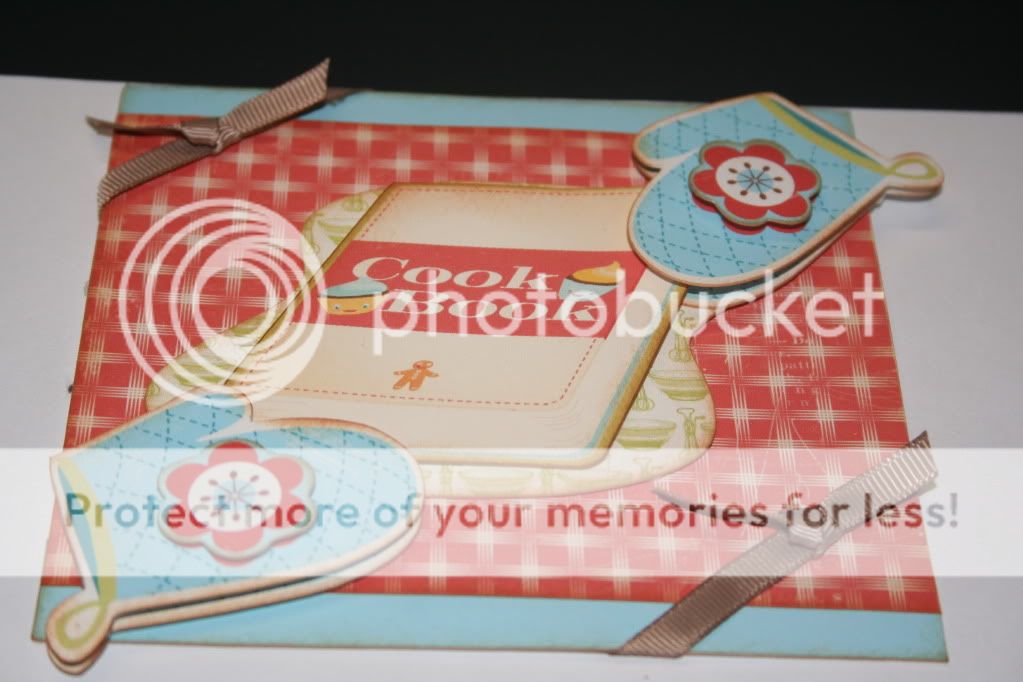
Kate's Kitchen #4
Here is my fourth card from Kate's Kitchen........time to take a break and pick another cart already!! The background paper and all images were cut from this cart as well as the two smaller strips of matching "blue cardstock." Again, I just love this feature of having the perfect match at your fingertips at all times. I first went through my stash of SU cardstock but all the blues were just slightly off so I resorted to printing two strips of my own. I inked around the edges with Tim Holtz's distress ink in "tea dye" - a necessity for me - and then pop-dotted all the images. Again, it is so hard to tell from these pics but every layer was pop-dotted and in person, the card is really much more dimensional then it appears here.
Snow Angel
I love this cartridge!! The images and papers are just so cute! The only problem is....with the limited time I actually have to create anything, by the time I am able to come up with a few cards I approve of, it will be spring and this cart will no longer be of any use to me. Snow Angel was used for all papers and shapes except the rectangular scalloped shape which came from Winter Woodland and was flood-filled with a Snow Angel pattern.
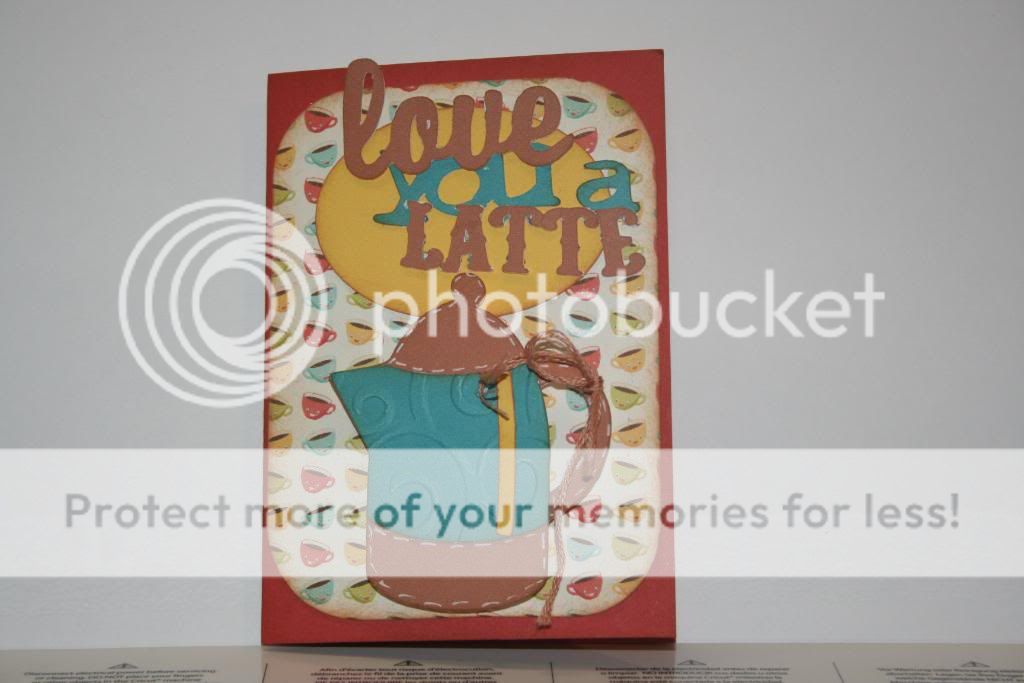
Just Because Cards and Kate's Kitchen
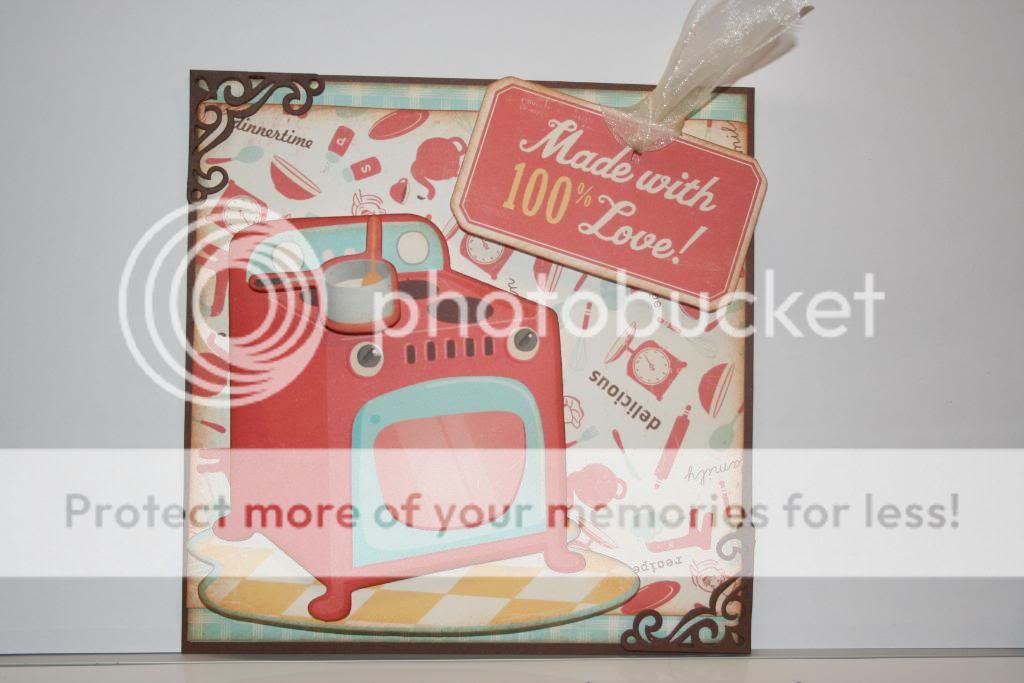
This card was made using Kate's Kitchen for the patterned paper and Just Because Cards for the sentiment, oval, and coffee pot. I absolutely love that you can use the Imagine to print out coordinating color cardstock to match any of the background papers included on the cartridges. I cannot tell you how many times I have sat down to make a card and realized that I had no solid-colored cardstock to match the background paper I had chosen for a particular card. This is going to make my card-making so much easier! I flood-filled the images from Just Because cards with the coordinating colors from Kate's Kitchen to get that perfect match I was talking about and then ran the blue portion of the coffee pot through my cuttlebug to add texture.
Kate's Kitchen #3
This is one of the smiling images I was talking about in my previous post. I find it a bit unnerving to have a tea pot smiling at me but oh well.....I guess it is a little cute! I do really like the vivid colors that were included in this cartridge - it makes the cards so cheerful. I used Kate's Kitchen for all the paper and patterns and then ran the yellow cardstock underneath the tea pot through my cuttlebug and added some "skittles" for embellishments. There is also a lot of pop-dotting done on the images but my camera did not seem to pick that up in the photo.
Kate's Kitchen #2
I was a little worried when I first opened up this cart and saw all the smiling coffee pots and other kitchen gadgets with faces. I thought the patterned paper was really cute but didn't know if I would like the images. Last night I sat down and printed out three 12 x 12 pages of various images and paper samples and decided to just see if I could come up with something. I had a lot of fun and I have to admit.....I actually really like this cart now!
Kate's Kitchen
My husband bought me an Imagine for Christmas and I was so excited but I hadn't had time to make anything with it yet. Last night after I tucked my children in bed, I decided it was time to finally put it to good use!
Subscribe to:
Comments (Atom)


